How to Extend a Portrait Image to 16:9 Without Cropping
 Expand Picture Team
Learn how to extend a portrait image to 16:9 without cropping the subject, stretching the photo, or filling the sides with obvious borders.
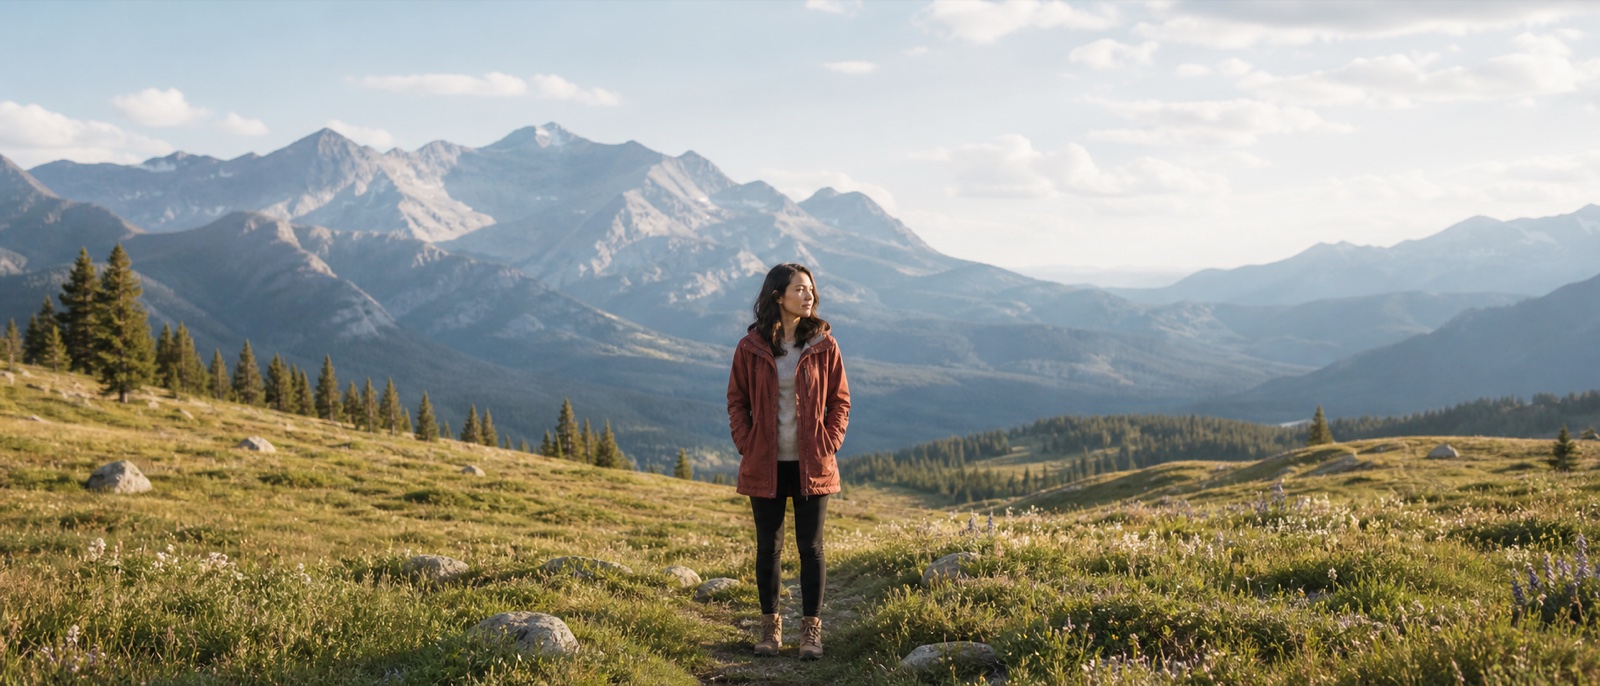
Turning a vertical photo into a widescreen image creates a simple geometry problem: a 16:9 frame needs much more width than a portrait source provides. A normal crop cannot invent that width. It usually zooms in until the landscape frame is full, cutting away the top and bottom of the portrait. Stretching keeps every edge in view, but distorts the person, product, or scenery.
AI outpainting offers a more useful option. It keeps the portrait at its original proportions, places it inside a wider canvas, and generates new scenery on the left and right. This guide explains how to extend a portrait image to 16:9 without cropping, how to choose a source that will expand well, and how to catch errors before using the result as a banner, thumbnail, slide, or campaign asset.
How to extend a portrait image to 16:9 without cropping
Start with the original file whenever possible. A high-resolution source gives the model clearer information about the horizon, depth of field, lighting, and textures at the edges. Avoid editing a screenshot or a copy downloaded from social media if the camera original is available.
- Upload the portrait image. Use a JPG, PNG, or WebP with the full subject visible.
- Choose the 16:9 output ratio. The editor creates a landscape canvas and calculates the missing space on the sides.
- Select the closest image preset. Choose portrait for a person, product for a commercial still life, landscape for nature, or architecture for rooms and buildings.
- Add a short instruction only when needed. Describe the background continuation, such as “continue the soft gray studio wall” or “extend the mountain meadow and distant trees.” Do not ask the model to redesign the existing subject.
- Generate the expanded image. Compare the new left and right areas with the original center.
- Review at full size before downloading. Inspect faces, hands, text, repeating patterns, horizon lines, and the join between original and generated pixels.
The Expand Picture editor is designed around these steps. Its 16:9 option expands the canvas instead of shrinking, stretching, or cropping the source.
Extend a portrait image to 16:9 while keeping the subject intact
The position of the subject affects how natural the widescreen composition will feel. A centered portrait can be extended evenly on both sides. An off-center portrait may benefit from more visual weight on the open side, especially when the final image needs room for a headline or interface element.
Do not assume that centering is always best. If the person looks to the right, additional space in front of their gaze often feels more intentional than equal empty space behind them. If a product faces left, the open area can sit on the left for a callout. The AI generates the background, but you still decide what the composition needs to communicate.
The safest sources keep important details inside the existing frame. When a hand, hat, chair, building, or logo is cut by the edge, outpainting must infer its missing continuation. A clean background edge gives the model more freedom and reduces the chance of distorted anatomy or geometry.
Why cropping a portrait to 16:9 usually fails
A 16:9 frame is much wider than a typical phone portrait. To fill that frame using only existing pixels, a crop has to zoom in until the source spans the full width. The top and bottom then extend beyond the landscape canvas. A head-and-torso portrait may become a tight face crop; a full-body image may lose the subject's legs; a product photo may lose packaging or shadow detail.
Three common workarounds have their own limitations:
- Stretching changes proportions and makes familiar shapes look wrong.
- Blurred sidebars preserve the source but make the image look like a repurposed vertical video rather than a purpose-built widescreen composition.
- Solid borders create the right dimensions but rarely match the scene or leave useful visual context.
Outpainting solves a different problem from resizing. Resizing changes the number of pixels used to display the same composition. Outpainting changes the composition by adding plausible content outside the original frame.
Choose the right source before converting portrait to 16:9
Some portrait images are easier to expand than others. The best candidates have a clear subject, consistent lighting, and background information visible on both side edges. A person standing against a meadow, a product on a clean studio sweep, or a building with repeating sky and ground cues gives the model strong context.
Harder sources include crowds cut at the edge, close-up hands, dense typography, complex railings, mirrors, and patterned architecture. These do not make expansion impossible, but they demand closer review. If an alternate photo has more breathing room, start there.
Prompt examples for portrait-to-16:9 image extension
A useful prompt describes only what belongs in the new canvas. Keep it short and consistent with what is already visible:
- “Continue the warm studio wall with soft window light.”
- “Extend the beach, ocean horizon, and pale evening sky.”
- “Continue the clean white product backdrop and soft floor shadow.”
- “Extend the office interior with matching perspective and depth of field.”
Avoid instructions such as “make this more exciting” or “create a completely new cinematic scene.” They give the model permission to introduce objects, lighting, or visual styles that conflict with the original. When the existing background is clear, a natural-continuation preset may work better than a detailed prompt.
Quality checklist for a portrait image extended to 16:9
Review the completed image in two passes. First, look at the whole composition at thumbnail size. The subject should have a clear focal position, and the added space should look purposeful. Second, zoom in and inspect technical continuity.
- Identity and anatomy: The face and body in the original area remain unchanged. Hair, clothing, or limbs near a boundary do not split or duplicate.
- Horizon and perspective: The horizon remains level. Roads, walls, tables, and building lines converge in believable directions.
- Light: Highlights and shadows in the generated area agree with the source.
- Focus: A blurred background stays blurred at a similar depth; a sharp landscape does not suddenly become soft at the sides.
- Texture: Grass, water, brick, fabric, and other patterns vary naturally instead of repeating like a stamp.
- Objects: No partial person, duplicate tree, extra product, stray lettering, or unexplained shape appears near the edge.
- Boundary: There is no visible seam, halo, color band, or change in noise where the original ends.
If the result looks wrong, identify the specific failure before regenerating. A broken horizon suggests a landscape or architecture preset. A duplicated object suggests a simpler prompt. An altered edge of the subject suggests using a source with more surrounding space or making a smaller expansion first.
Compose the 16:9 image for its final placement
The same 16:9 ratio can serve very different layouts. A video thumbnail needs a strong focal point at small size. A website hero may need quiet space behind a headline. A presentation cover may need the subject away from logos or page furniture. Decide the placement before approving the generated composition.
Keep critical details away from extreme edges because some responsive layouts or preview cards may still trim a small amount. Leave negative space where text will go, but add the actual text later in a design tool. AI-generated lettering is unreliable, and keeping copy separate makes it editable and accessible.
For multiple placements, save a clean 16:9 master without text. Duplicate that master for each headline, logo, or campaign treatment. This gives you a reusable visual asset instead of a one-off graphic.
Common problems when extending portrait photos to widescreen
The sides look empty. Empty space is not necessarily a failure. For banners and title slides, controlled negative space can be more useful than a busy generated scene.
The background repeats. Regenerate with a simpler prompt or describe a broader continuation rather than a specific repeated object.
The subject looks smaller than expected. That is a natural consequence of placing a portrait inside a wide frame. Use the largest acceptable subject scale that still preserves the full original and leaves enough generated width.
The face changed. Confirm that the original image is preserved in the center and that the face did not cross into a generated boundary. Use a source with more margin around the head when available.
FAQ about extending a portrait image to 16:9 without cropping
Can I turn a vertical photo into 16:9 without cutting off the person?
Yes. Place the complete vertical photo inside a 16:9 canvas and generate the missing areas on the left and right. This is image outpainting, not a crop.
Will the 16:9 conversion stretch the original portrait?
It should not. A proper canvas-expansion workflow keeps the original proportions and creates new pixels only in the added area. Reject any result that visibly widens the person or product.
Should I add text in the outpainting prompt?
No. Generate clean background space first, then add real text in your design or publishing tool. This keeps wording accurate, editable, and readable.
Create a 16:9 image from a portrait without cropping
The best widescreen conversion preserves what is already true in the photo and generates only the context the new frame requires. Start with the strongest source, choose 16:9, give the model a restrained instruction, and review the result with the final placement in mind.
Open the Expand Picture editor
to extend a portrait image to 16:9 while keeping the original subject and proportions intact.